


Why DIY
This DIY wall decor project is one that came very naturally to me. I love interior decorating (and organizing!) and I come from a very talented family in the building/craft world. Decorating is one of the most enjoyable hobbies that I have. It then makes sense that DIY fits in quite well. But one of my biggest problems is that I like to change things up more often than my budget can afford. So I’ve taken to being very intentional about what I buy and what I make when it comes to my decor. This project is an excellent way to add color, texture, and visual interest to any room.
Kate Creates: Wall Decor
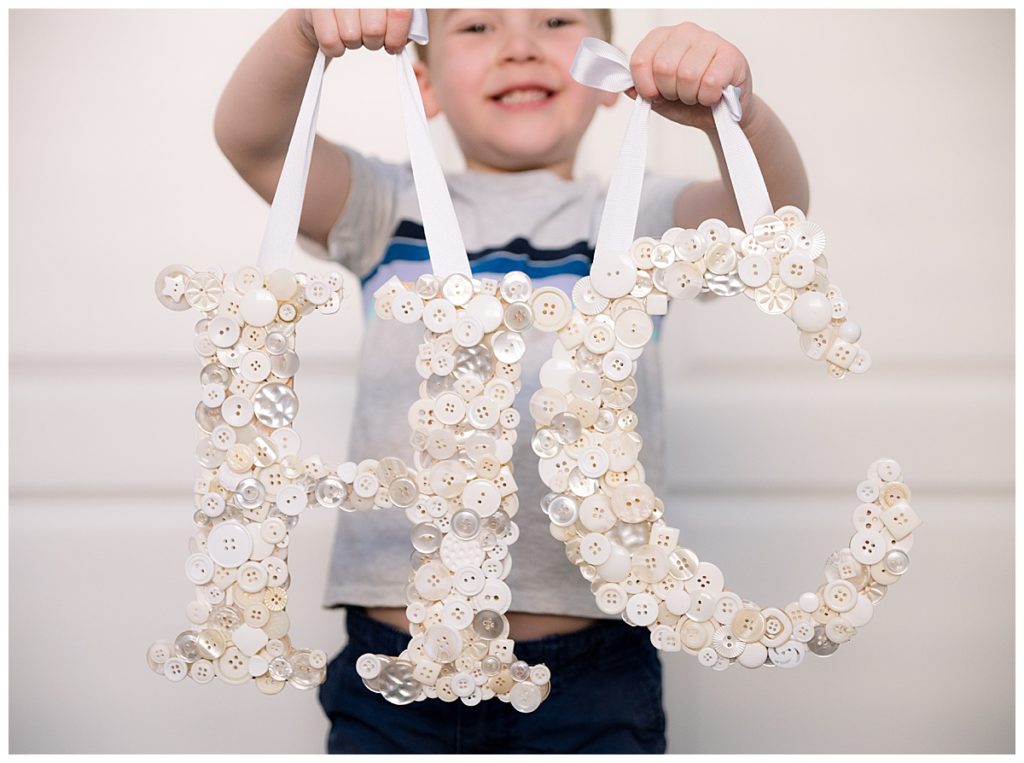
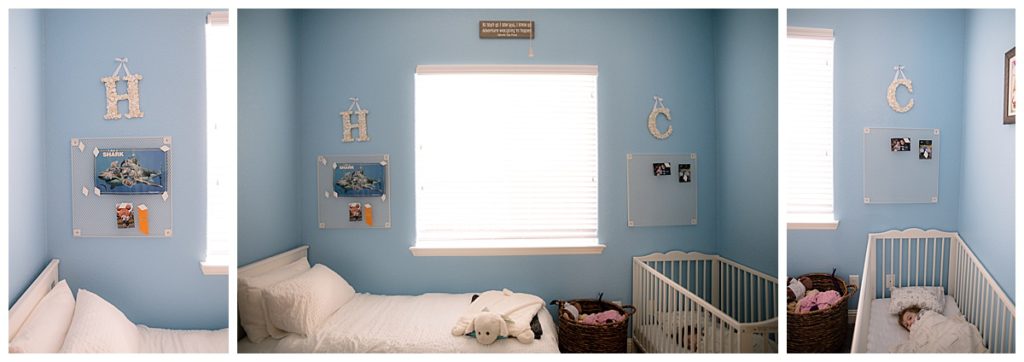
When I was pregnant with my daughter, I knew that my kids would share a room. The overarching theme of their room is Winnie the Pooh (my childhood favorite story), and I knew that I wanted to add a few touches that would stay within the general design theme while also showcasing their individualities. Finding a way to incorporate their initials over their beds felt like the perfect solution. In addition to it being a fun decorative element to their room, I got to share this DIY wall decor project with my son, and he loves seeing it in his room every day.
Create Your Own Wall Decor
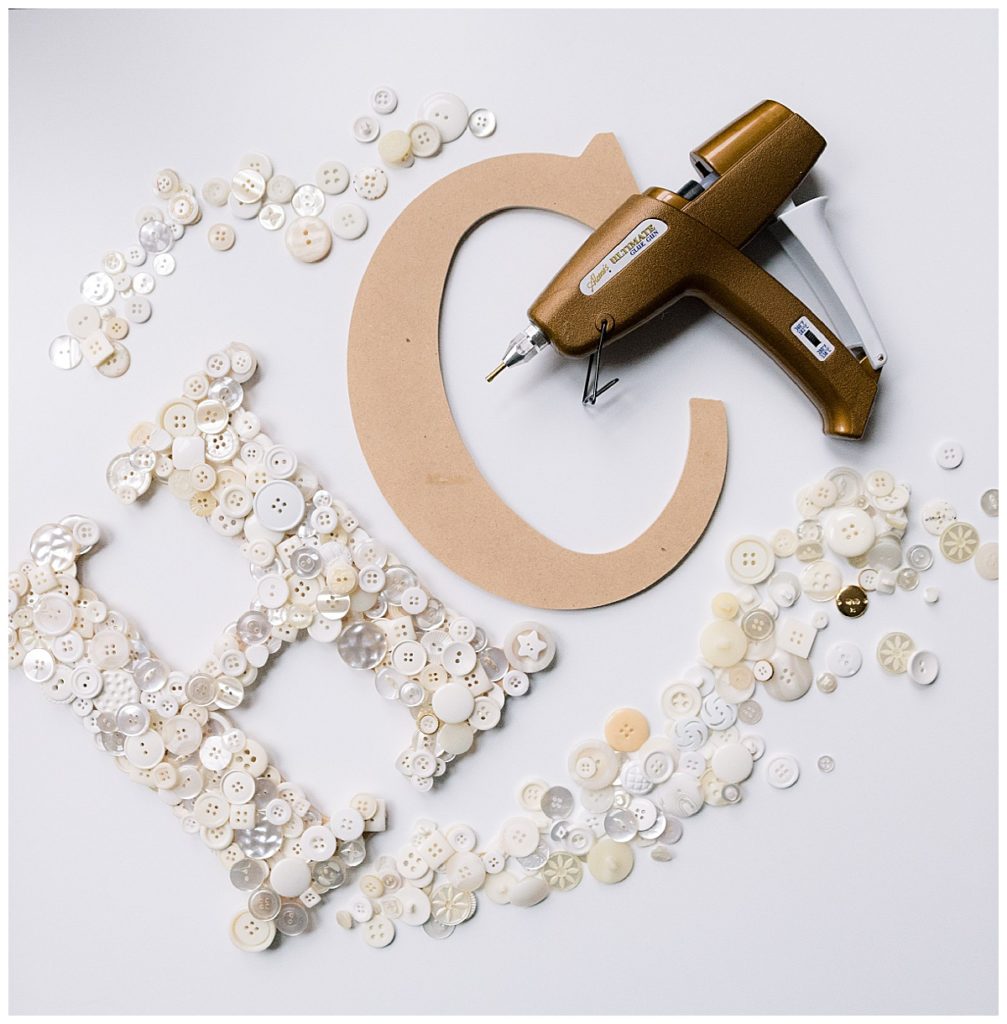
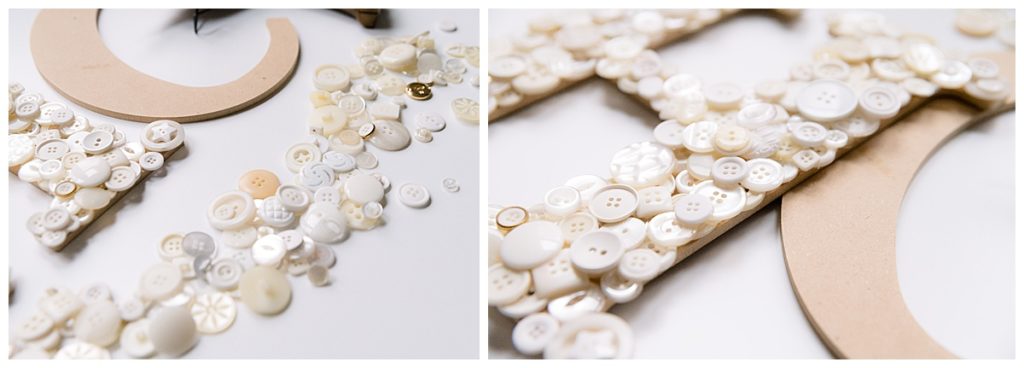
There are many ways to create this project. I chose to buy letter forms from a craft store, but you could easily use cardboard or other materials as well. Can you imagine using faux flowers on a large letter or heart? That would be absolutely stunning. The fact that this project is completely customizable means that you can easily adapt this for a more grown-up space, or you can include your kids and make it something just for then. The buttons I used for this project came from my mom’s stash of craft materials, but Amazon has any color buttons you could imagine, as well as pom poms, decorative flowers, or anything else you can imagine. The letters came from a craft store, but similar ones are also available here.
Materials
Base – wooden or cardboard letters or shapes
Hot glue gun and extra glue gun glue sticks
Material to glue – buttons, pom poms, fabric, etc.
Ribbon for hanging
Directions
Make sure that you have newspaper or something underneath your work space that can get messy
Plug hot glue gun in
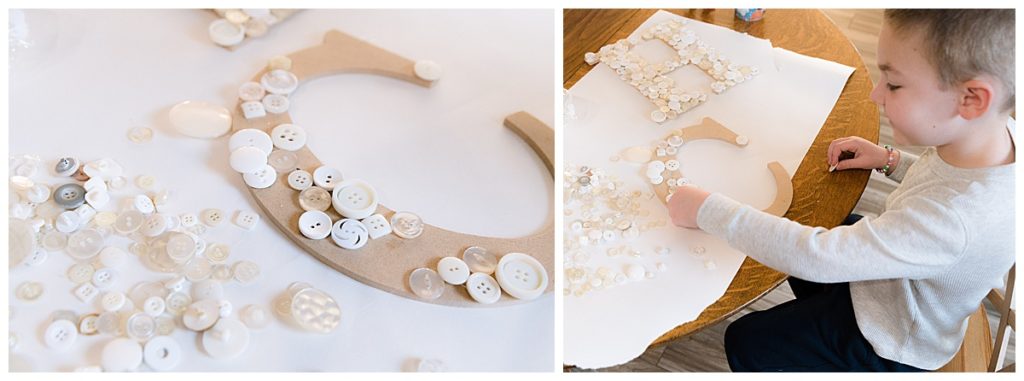
Use hot glue to glue items on wood or cardboard. Depending on the item, you might have to do several layers. I had to do about 3 layers of the buttons before I felt like it was sufficiently covered.
Once all items are in place, go over your project and remove any leftover glue residue strings.
Flip the letter over and use hot glue to attach ribbon or string to the back for hanging. Make sure to not go light on the glue here. You don’t want it falling off of the wall.
Hang your project when you’re done!
If you post your project, make sure to tag me and use the hashtag #katecreatesCA


+ show Comments
- Hide Comments
add a comment